If you use gitlab behind an apache proxy and can’t edit files that are in subdirs with the “Edit > edit single file” button (just loading circle) – here is the Problem: this happends because the proxy translates the ‘%2F’ in the URL paths! You have to add “AllowEncodedSlashes NoDecode” to your proxy. here is a valid configuration:
Apache HTTP:
# Allow encoded slashes
AllowEncodedSlashes NoDecode
# Redirect all HTTP traffic to HTTPS
Redirect permanent / https://this-target/
you want threads in bash and know exactly when they finish and in which state?
#!/bin/bash
threads=()
f_getThreadKeyword(){ for i in ${threads[@]}; do [[ $(echo $i|cut -d':' -f2) == $1 ]] && echo $(echo $i|cut -d':' -f1); done; } # returns the keyword for a given pid
f_addThread(){ keyword=$1; pid=$2; threads+=( "$keyword:$pid" ); echo "added thread $keyword ($pid)"; } # adds a thread to the array
f_removeThread(){ pid=$1; threads=( ${threads[@]/$(f_getThreadKeyword $pid):$pid} ); } # removes a thread to the array
f_getThreadPids(){ echo ${threads[@]}|tr ' ' '\n'|cut -d':' -f2|tr '\n' ' '; } # returns all pids
sleep 3 &
f_addThread first $!
sleep 10 &
f_addThread second $!
sleep 5 &
f_addThread third $!
while [[ $(jobs|grep -iE 'läuft|running' -c) -gt 0 ]]; do # there are running background jobs
wait -p next -n $(f_getThreadPids)
err=$?
echo pid $next exited with $err \($(f_getThreadKeyword $next)\)
f_removeThread $next
done
echo done
Output:
added thread first (1429283)
added thread second (1429285)
added thread third (1429286)
pid 1429283 exited with 0 (first)
pid 1429285 exited with 143 (second)
pid 1429286 exited with 0 (third)
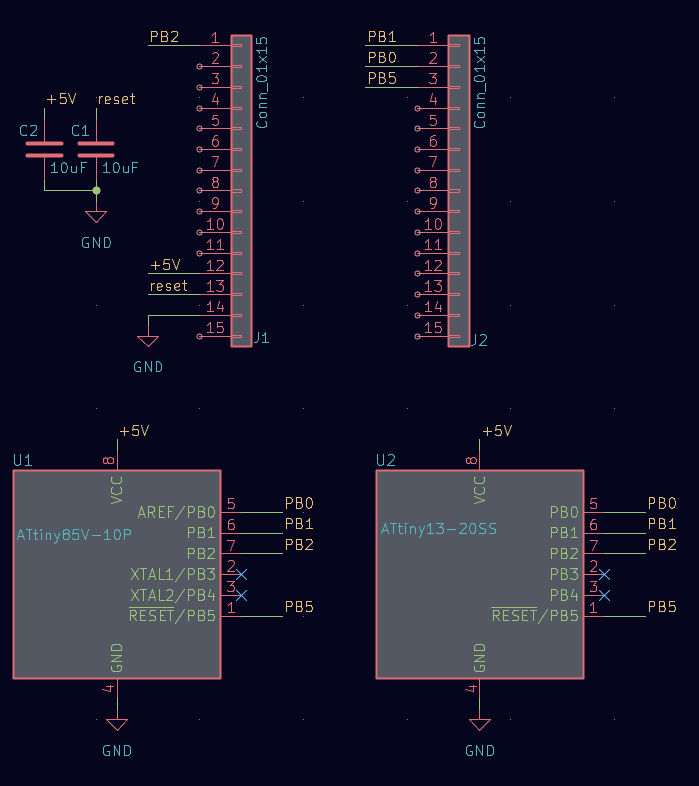
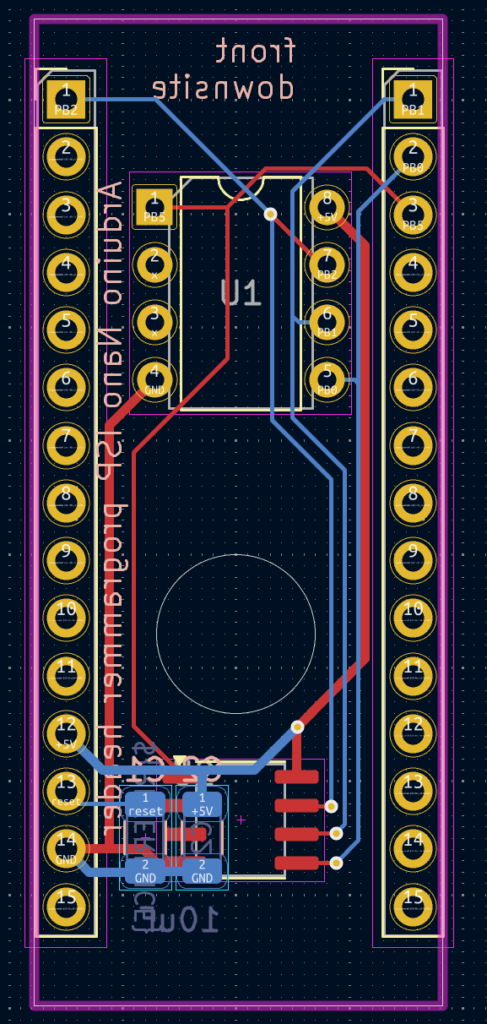
I created an Arduino Nano header so I don’t have to recable a nano every time I want to burn or programm a Tiny. This board comes on top of the Nano like a sandwitch.
TBD – photo of endproduct
After this you have to programm the ISP
first choose your connection. For me it was: Tools > Port > COM5 After this choose the ISP skatch: File > Examples > 11.ArduinoISP > ArduinoISP Upload the Sketch to the Nano
Setup Environment to use the newly created ISP
Switch the chiptype to the one you want to program (daughter): Tools > Board > ATTinyCore (ATTinyCore) > ATtiny85 (Micronucleus / DigiSpark) Tools > Programmer > Arduino as ISP Tools > Burn Bootloader Method > Fresh install (via ISP)
Now you can burn Tinys with: Tools > Burn Bootloader Or upload sketches to them via the ISP: Sketch > Upload Using Programmer
USB KVM Switch Adapter USB 3.0 Switcher 2 inputs 4 outputs
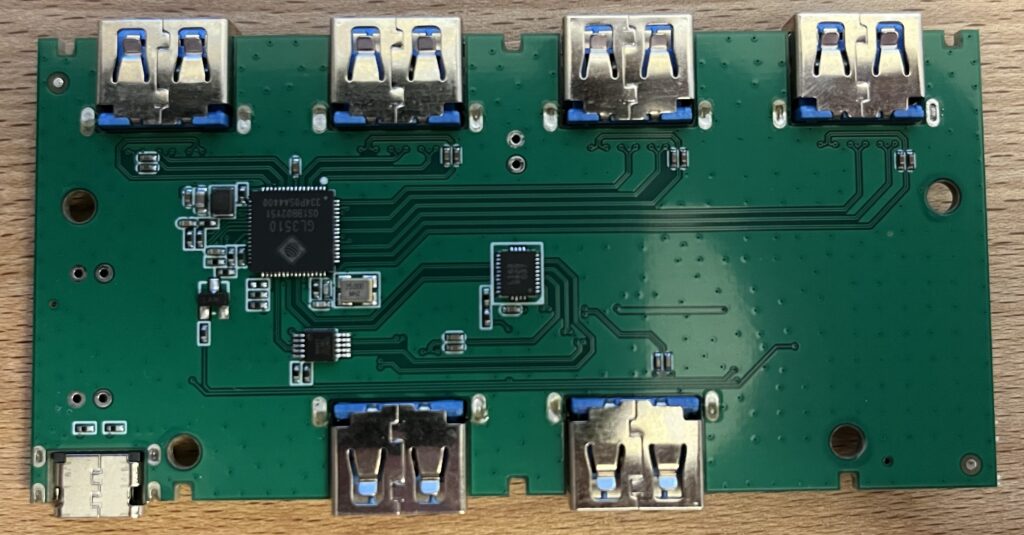
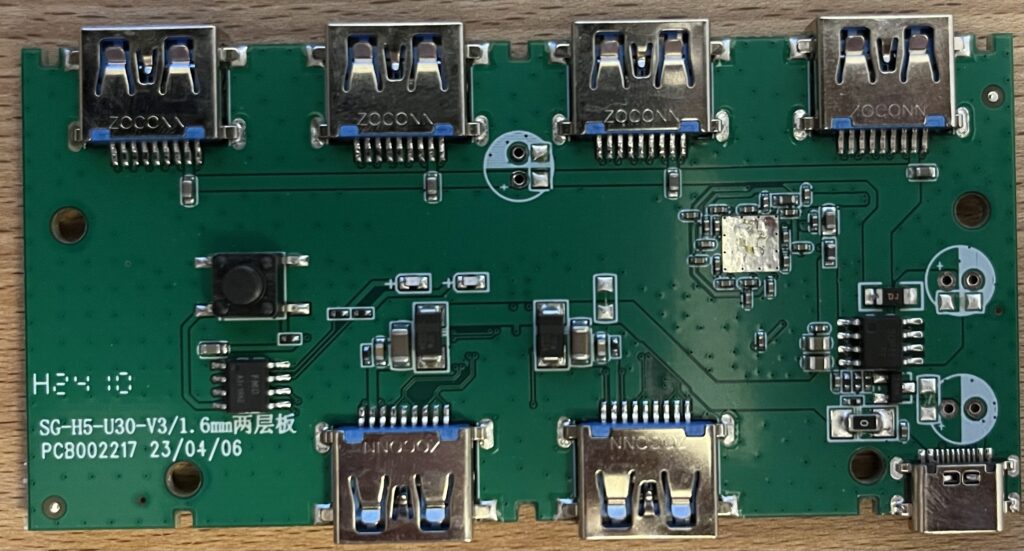
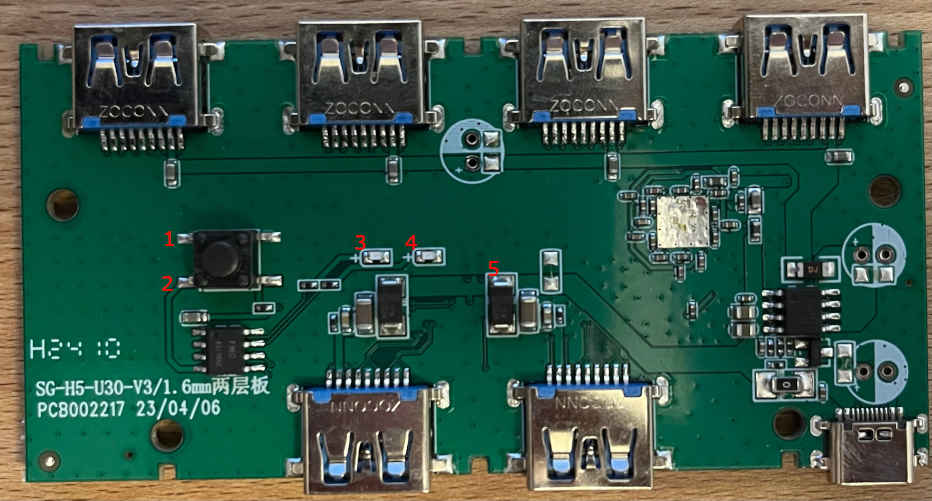
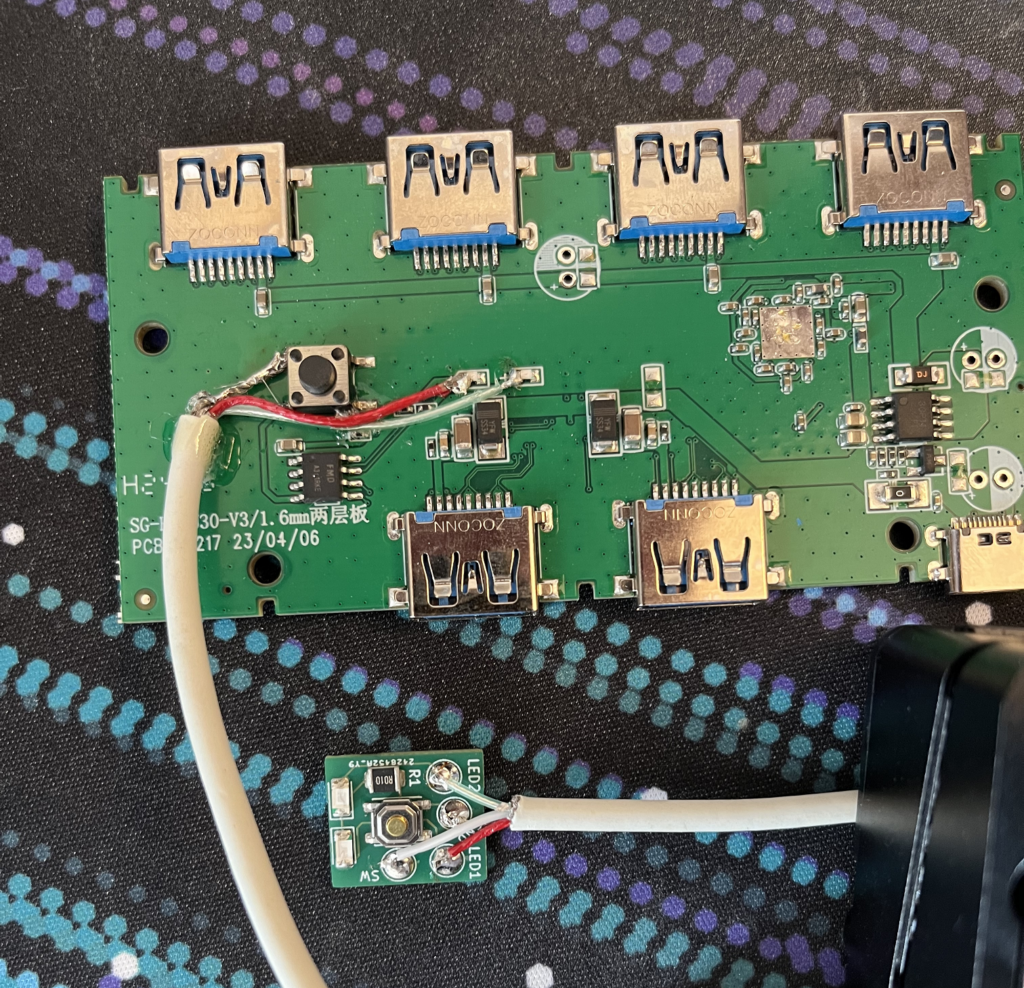
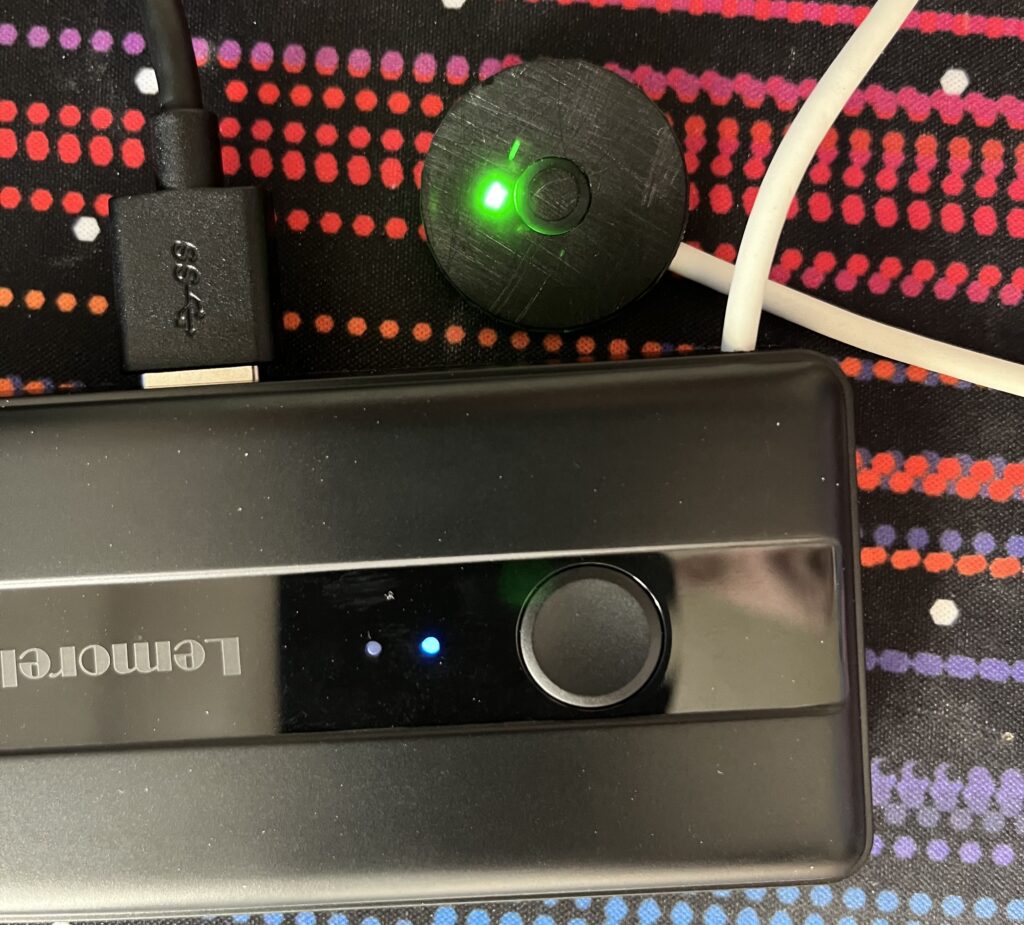
This is a 2 Input 4 Output USB3 switch. With the button on the top the switch toggles a little USB3 switch chip (downsite in the middle) between two host devices (PCs). The output of the switch chip is then connected to an USB3 hub-chip (bottom site left side) wich connects to the top 4 usb ports.
Because I have on-call duty on many weekends I want to switch my USB devices (mouse, keyboard, microphone, usb-soundcard) via one button press between my home PC and my work PC. But the USB hub is neadly tucked away down behind the PCs. So I have to crawl unter the table and press the button on the hub every time I want to switch PCs (which is multiple times â day).
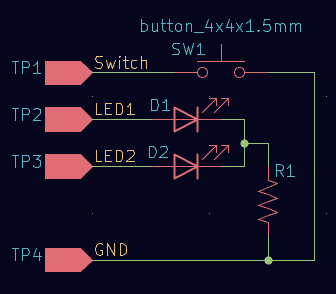
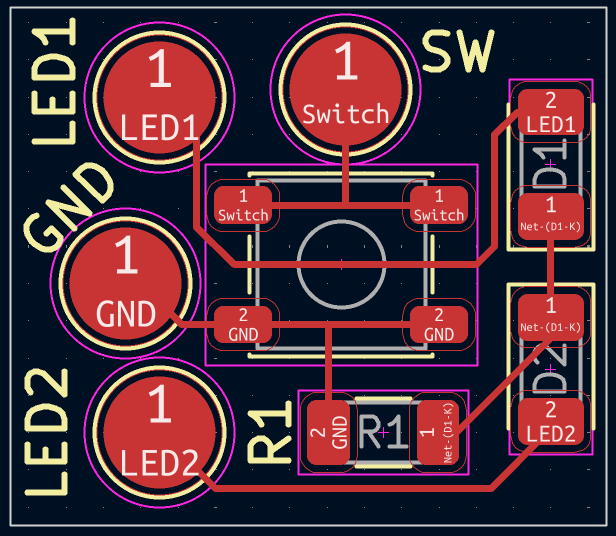
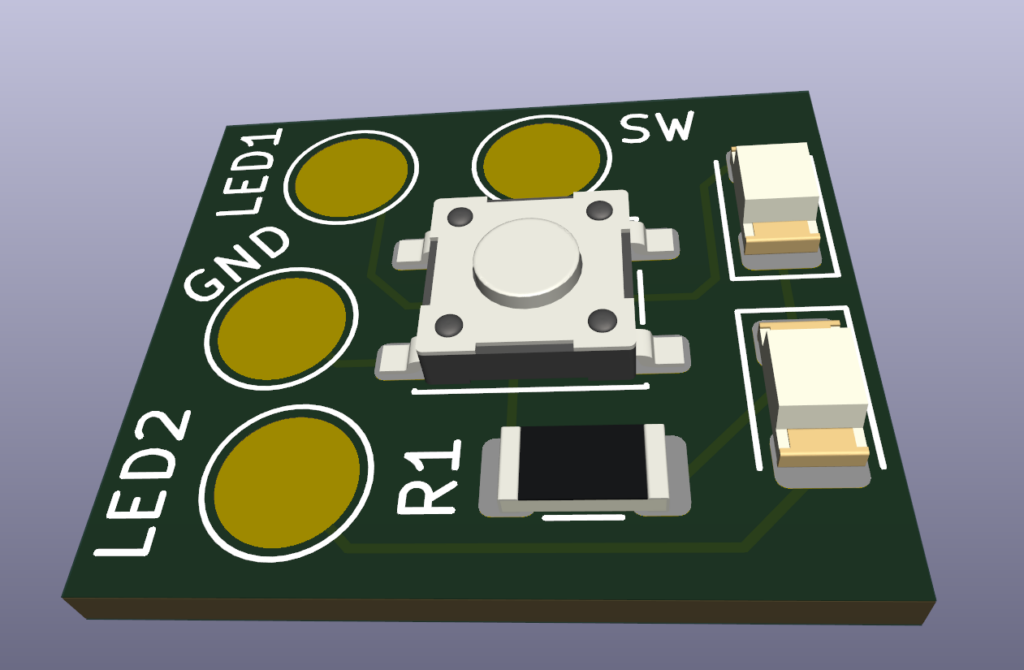
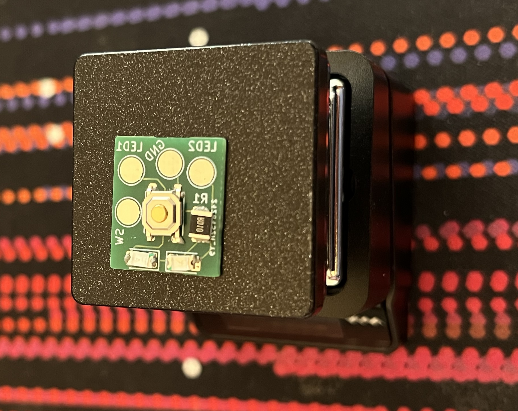
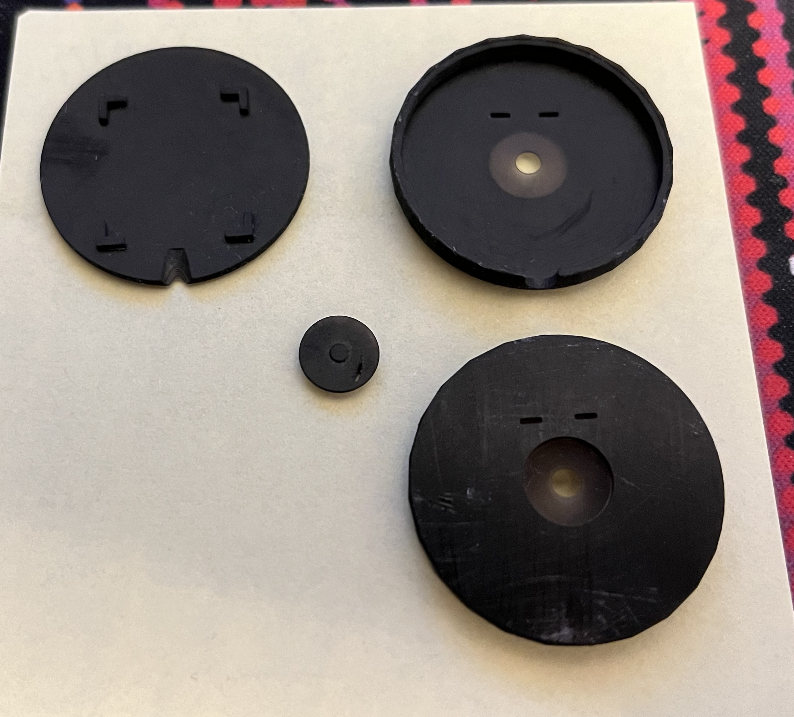
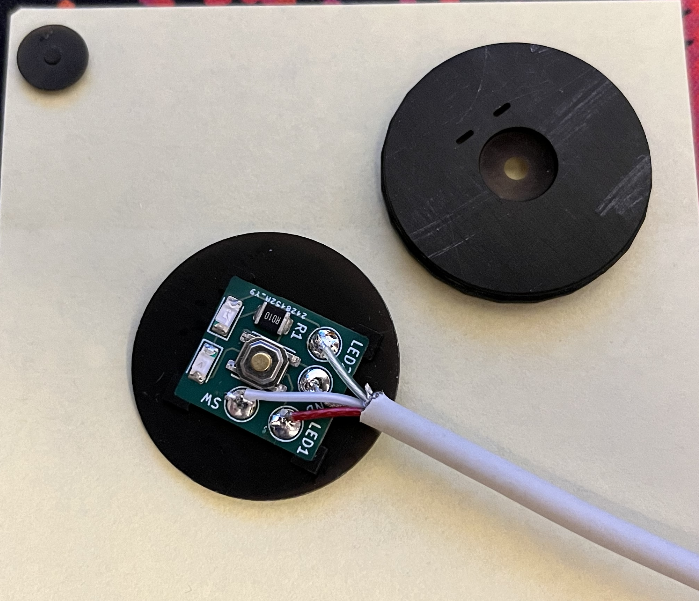
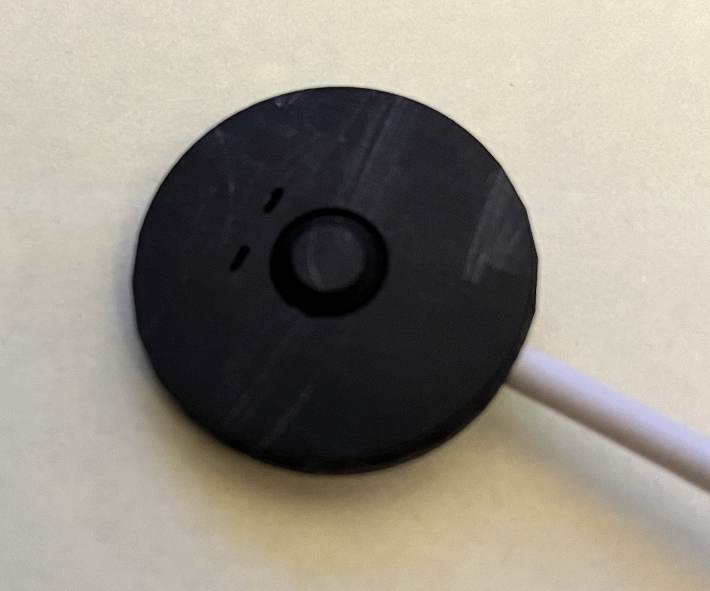
So the idea is to breakout the board and LEDs from this hub to a daughterboard that is mounted within easy reach from my sitting position at my desk.
So lets analyse the hub!
GND
switch (_active)
LED1 (GND=off/2.7V=on)
LED2 (GND=off/2.7V=on)
VCC 5V
Easy! create PCB and housing and we are good to go!
just a little script which pings a defined number of servers a defined time and give you the result. Good for looking if you connection is stable or if it may be an internet problem.
#!/bin/bash
targets=( 1.1.1.1 8.8.8.8 cloudflare.com discord.com )
max=100
tmpfile=$$.massping.tmp
# functions
f_ping(){
v=$(ping -c $max $1 2>/dev/null|grep received|cut -d' ' -f4)
echo $1 $v >> $tmpfile
}
f_done(){
[[ ! -f $tmpfile ]] && echo false && return
[[ $(wc -l $tmpfile 2>/dev/null|cut -d' ' -f1) -eq ${#targets[@]} ]] && echo true && return
echo false
}
# main
for s in ${targets[@]}; do
f_ping $s &
done
c=$max; echo
while [[ $(f_done) == false ]]; do
echo -e "\e[1A\e[Kwaiting. This should need $c more seconds.."
c=$(( $c - 1 ))
sleep 1
done
echo -e "\e[1A\e[Kdone"; echo
maxline=0; for w in $(cat $tmpfile|cut -d' ' -f1); do [[ ${#w} -gt $maxline ]] && maxline=${#w}; done
spaces=""; while [[ $(( ${#spaces} + 1 )) -lt $maxline ]]; do spaces="$spaces "; done
echo "server${spaces}%"
IFS="
"
while read -r line; do
server=$(echo $line|cut -d' ' -f1)
count=$(echo $line|cut -d' ' -f2)
perc=$(echo "scale=1; $count * 100 / $max"|bc)
spaces=""; while [[ $(( ${#spaces} + ${#server} - ( 5 - ${#perc} ) )) -lt $maxline ]]; do spaces="$spaces "; done
echo "${server}${spaces} ${perc}"
done < $tmpfile
[[ -f $tmpfile ]] && rm -f $tmpfile
exampleoutput:
server %
1.1.1.1 100.0
8.8.8.8 100.0
cloudflare.com 99.0
discord.com 85.0
Disclaimer: Version 1 does not work! Version 2 is the ‘good’ one. for record sessions over 1 minute the AMS1117 regulator gets to hot and shuts off. —
The Problem
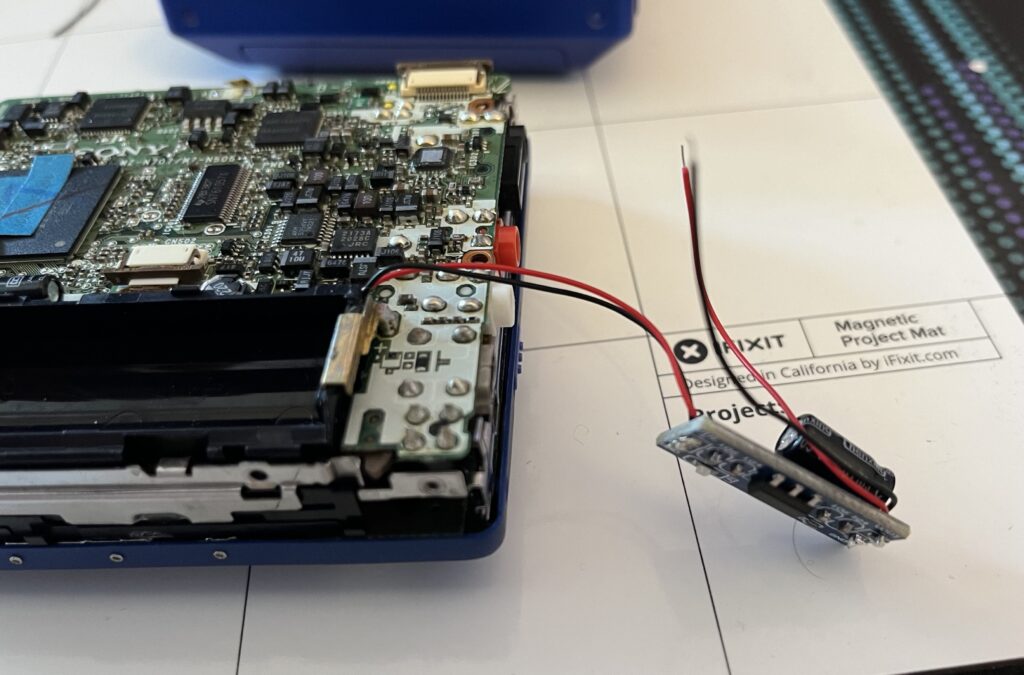
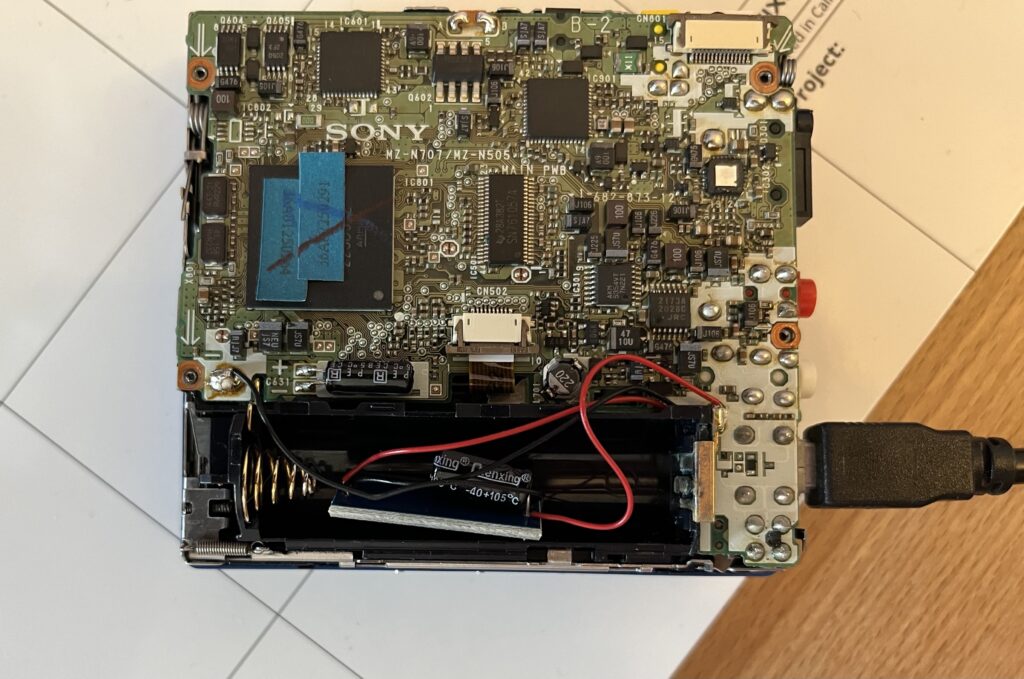
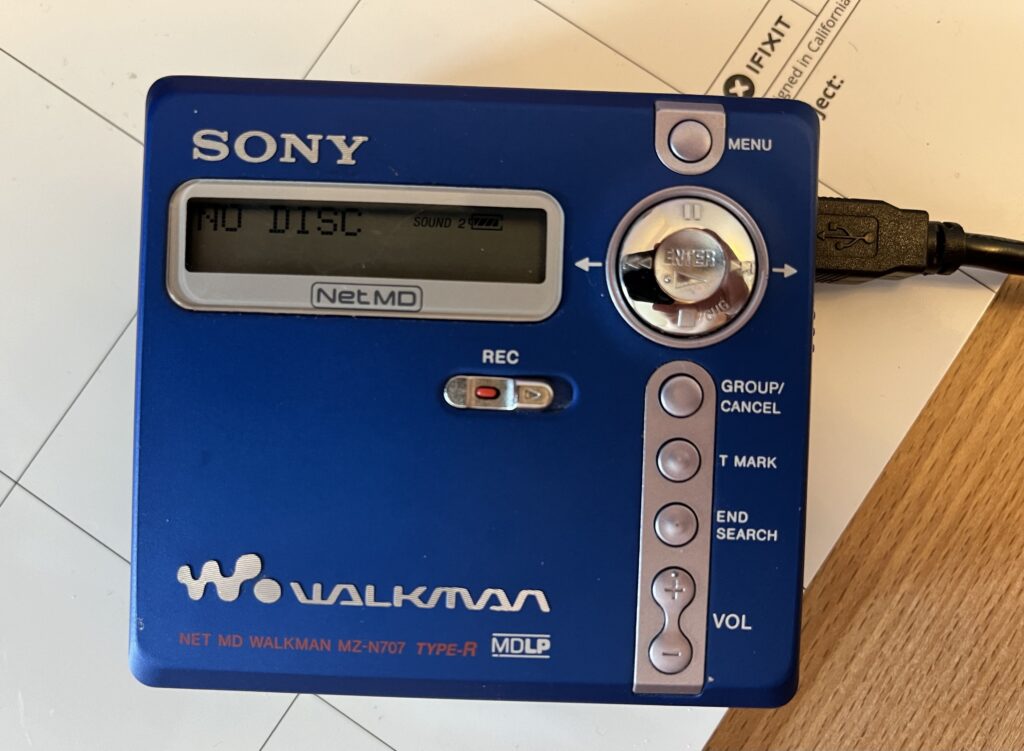
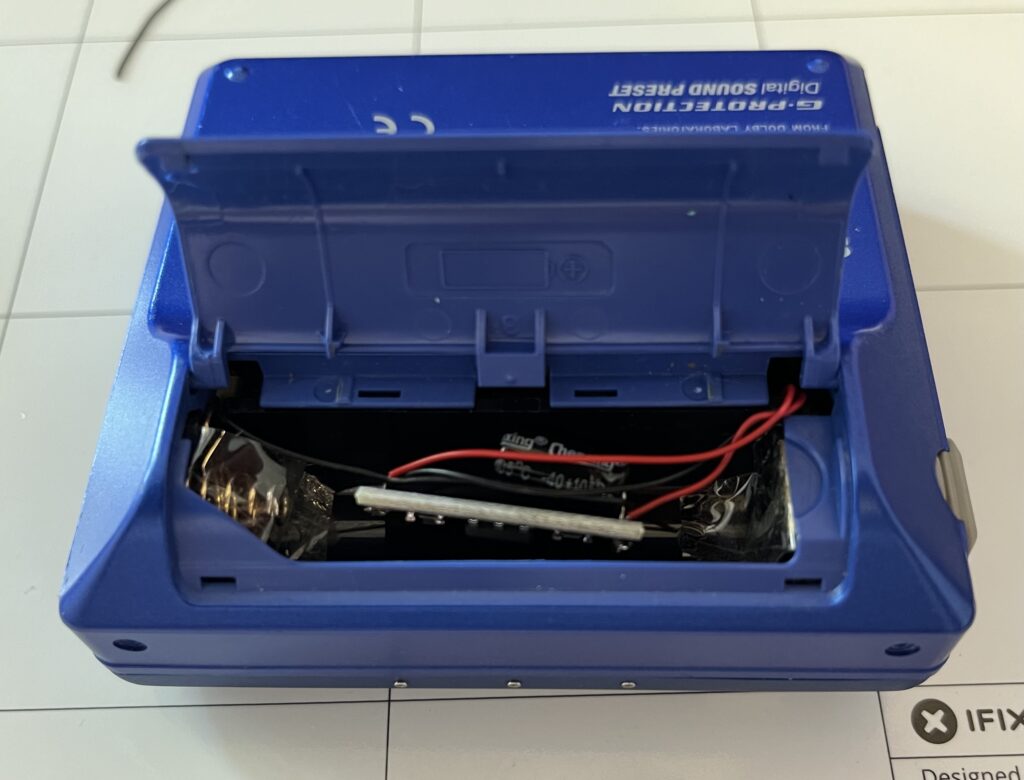
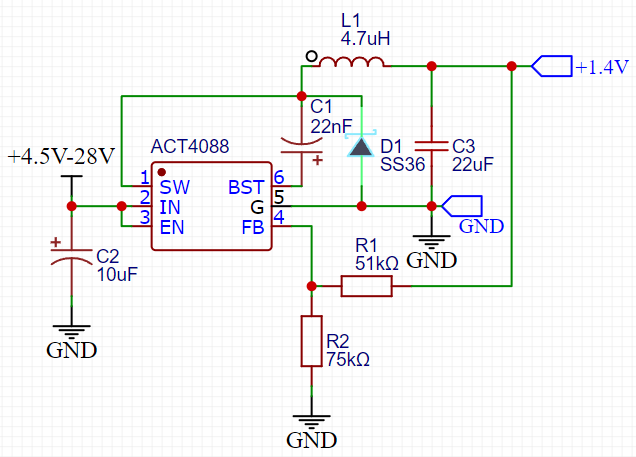
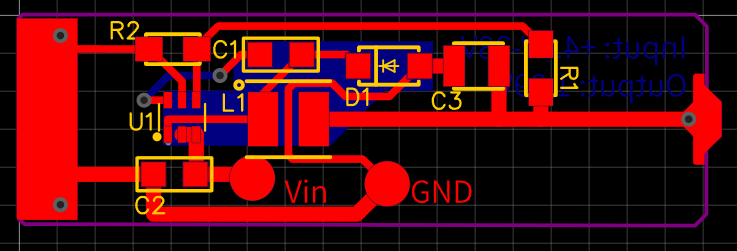
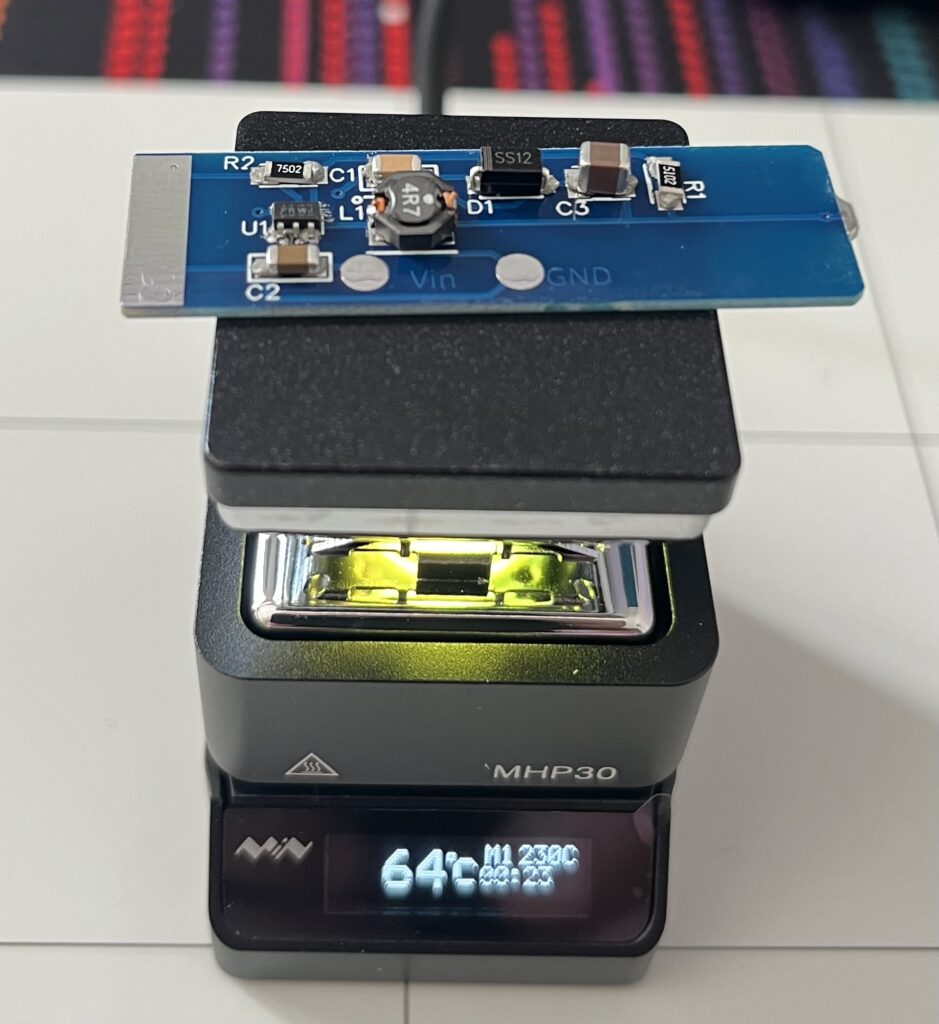
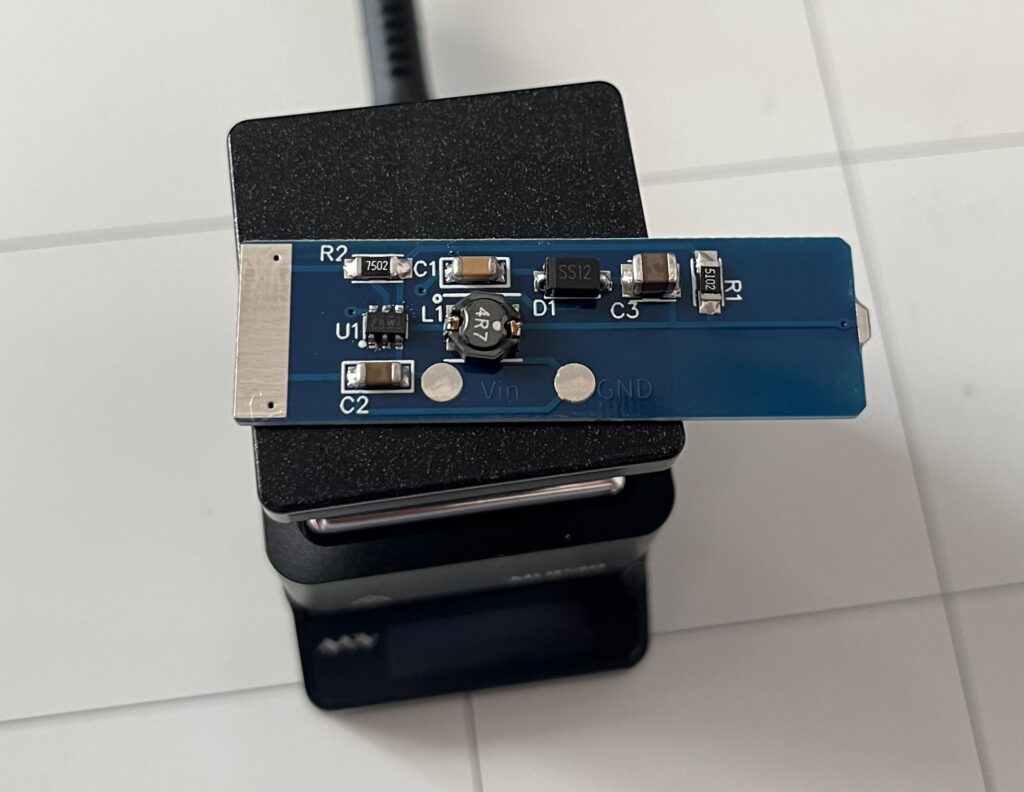
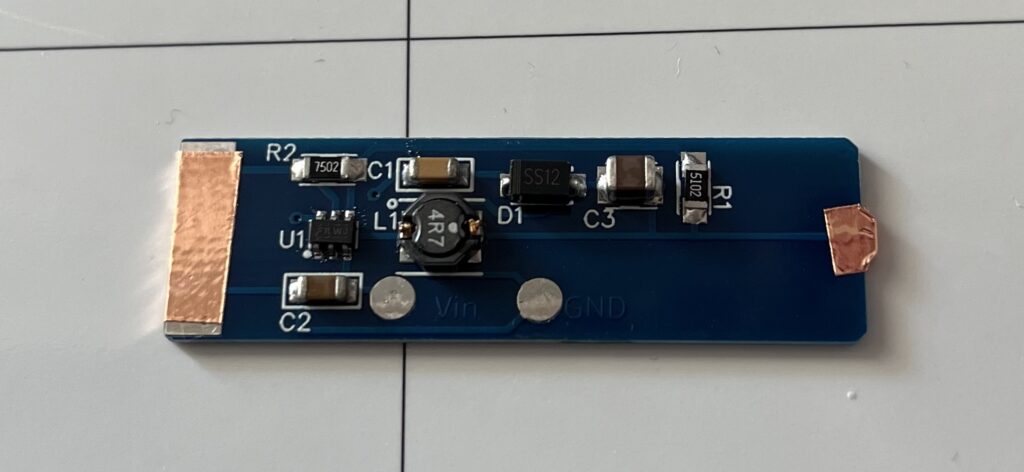
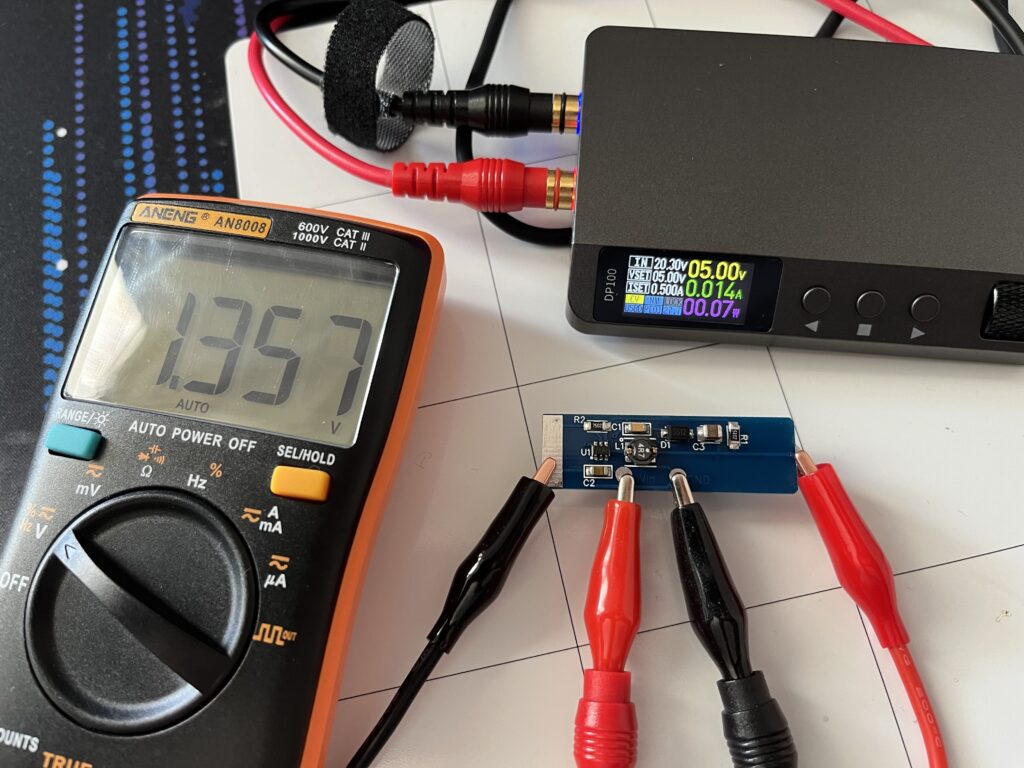
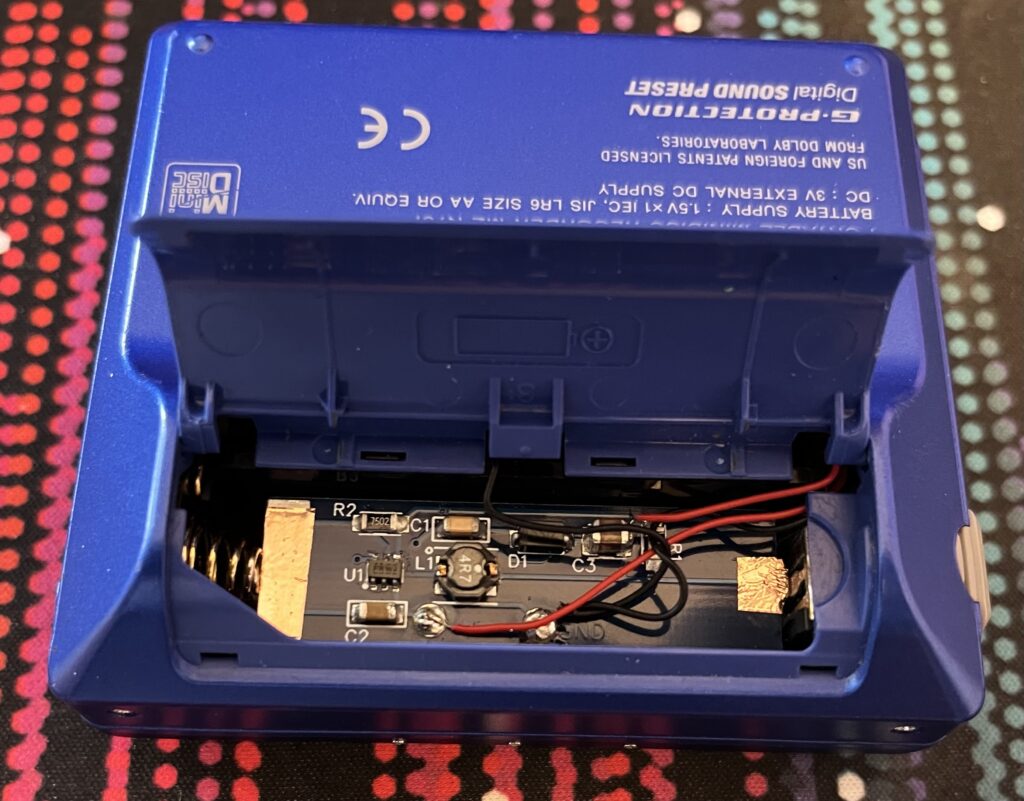
If you want to record an MD with the Sony MZ-N707 you have to plug in the mini usb cable and have an AA-battery inside of it. I reworked the player, so it takes the power from the USB and converts it to 1.5V to mimic a fully chared battery.
I decided on 1.5V instead of 1.2V (more headrum if the voltage spikes) because the motor in the player can draw 220mAh for a few seconds even @1.5V. Do reduce the strain on the thin wires I used I opted for the upper end of the Voltage-curve.
Version 1: off the shelf Voltage regulator (not good)
Here is what I used:
Sony MZ-N707 Player
1.5V regulator (on board from aliextress)
Capacitor 16V 220μF Cap (for more stable rail while surgedraw)
As mentioned in the disclaimer this did not work very good. Thats the reason for version 2!
After soldering and testing it turns out that the contact via copper tape is not good enough. So I had to add wires back to the device. But with this done it wored flawlessly.
The Gerber in this article is a bit newer than the one I soldered, but its just bigger traces for the second DC site for better voltage stability on surgespikes. Technically they are the same.
With the new board in place I recorded a full MD without any drops.
#!/bin/bash
threads=4
thread(){
echo "thread $$ started with param $1"
sleep 10 # do stuff
}
selfcount(){ echo $(( $(ps -ef|grep -v grep|grep -c $0) - 3 )); }
for i in {1..100}; do # worktasks
while [[ $(selfcount) -ge $threads ]]; do
sleep 0.1
done
thread $i & # call thread in background
sleep 0.1
done
while [[ $(selfcount) > 0 ]]; do sleep 0.1; done # wait for the last threads to finish
Eier, Milch und das Salz und Chiliflocken vermengen.
2 scheiben Brot mit Butter bestrichen und mit Schinken und Banane belegen. Die anderen 2 Brotscheiben mit Butter bestreichen und auflegen. Die 2 Sandwiches nun diagonal halbieren und in einer Auflaufform mit der Eier-Milch Masse übergießen.
Im Ofen für ca. 20 Minuten backen, bis die Brotscheiben hellbraun werden.